
Advocacy: Horse Welfare
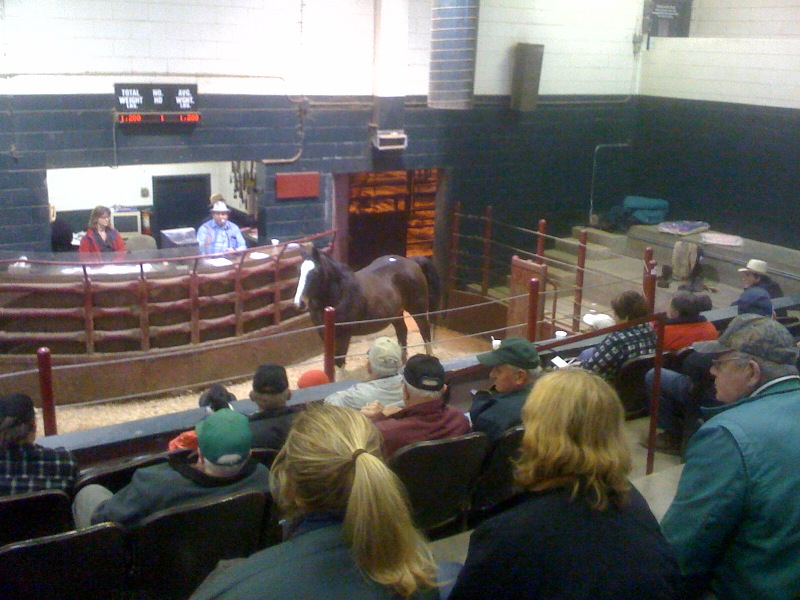
I visited OLEX auction on many occasions while I worked at Woodbine, Toronto, Canada.
projects + writing + media coverage
Horses: Sports, Culture, and Slaughter
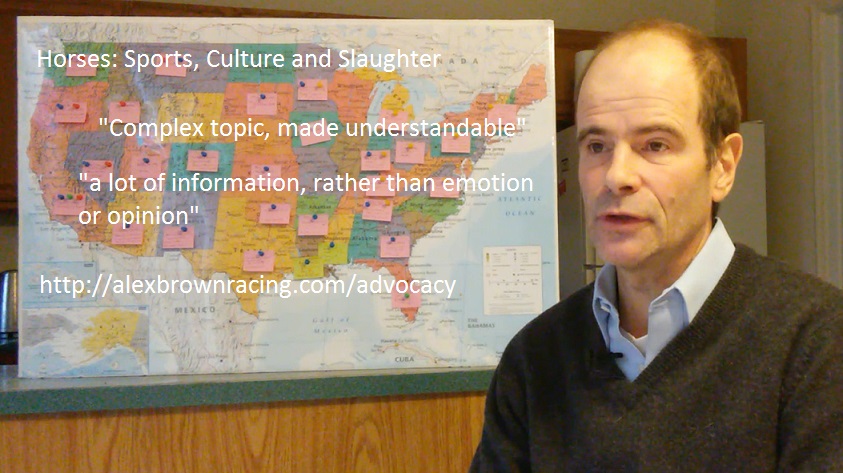
New: Horses: Sports, Culture, and Slaughter, in America launched. Here are the three videos:
Introduction, current state of horse slaughter, horse’s role in history, horse cultures, horse racing, rodeo, equestrian / pleasure
Work horse, breeding, Wild horses. Horse slaughter history, horse slaughter arguments
How the horse slaughter system works, case studies, horse slaughter and Washington DC, next steps
Press release for Horses: Sports, Culture, and Slaughter.
I have been involved in the horse industry for many years, through the sport of horse racing. Since 2006, I have also been involved in horse welfare issues, triggered by my experiences managing the community that evolved following Barbaro’s progress at New Bolton Center. That community became passionate about the horse slaughter issue; I have since pursued this issue in a variety of ways.
Twitter hashtag: #abadvocacy
Current list of kill buyers in the United States.
I am working on a YouTube piece: Horses: sports, culture and slaughter. It outlines the horse slaughter issue in the United States. It will be a 3 part, 50 minute, show.
Please join my Facebook page: Alex Brown: Advocacy for updates, and more.
Excerpt from my book in 2011: Horse Slaughter
The Horse Slaughter Issue, in detail, in 2009. – everything I knew in 2009: how congress works, who lobbies on the horse slaughter issue, and what are the reasons we have horse slaughter. Some decent insights. It was supposed to be a chapter for my book.
Alex Brown Racing Discussion Board, ongoing.
I have written about the horse slaughter issue in a variety of media. Here are a few examples:
Uncertainty shrouds horse slaughter in US, Horsetalk, December 2013
KEEPING BUTE OUT OF THE FOOD CHAIN, Paulick Report, November, 2010
GUEST COMMENTARY – SELLING HORSES BY THE POUND, Paulick Report, November, 2010
SLAUGHTER GOES UNDERGROUND, Paulick Report, November 2010
The Path to Slaughter at a Horse Auction, New York Times The Rail, May 2009
The battle for mindshare on the horse slaughter issue, Horsetalk, February, 2009
Sensible debate over unwanted horses would help anti-slaughter lobby, Horsetalk, May 2008
Alex Brown Racing featured on The Score – Part 1of 2, Woodbine Entertainment / The Score, September, 2009
Alex Brown Racing featured on The Score – Part 2 of 2, Woodbine Entertainment / The Score, September, 2009
Social Media for Social Causes: Alex Brown’s Passion for the Welfare of Horses Knowledge At Wharton, April 29, 2009
How Many Horses Can One Man Save, downthestretchnewspaper.com –recipient of Sovereign Award (Canada), 2008, Outstanding Feature Story
Brown pushes for end of horse slaughter, Wilmington News Journal, February 16, 2008